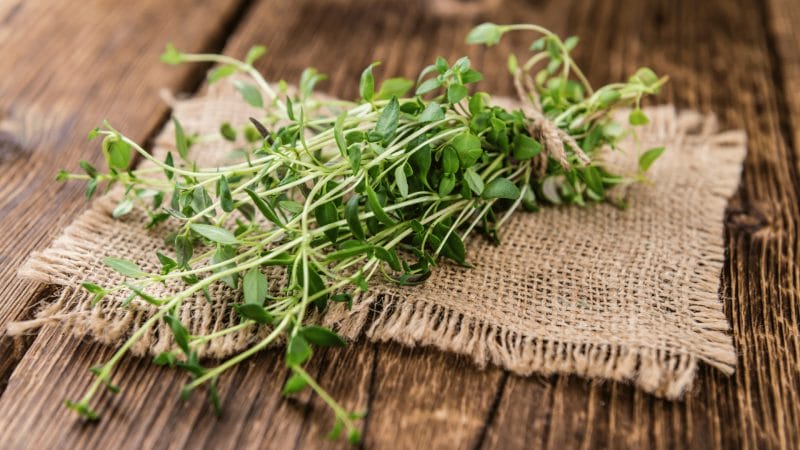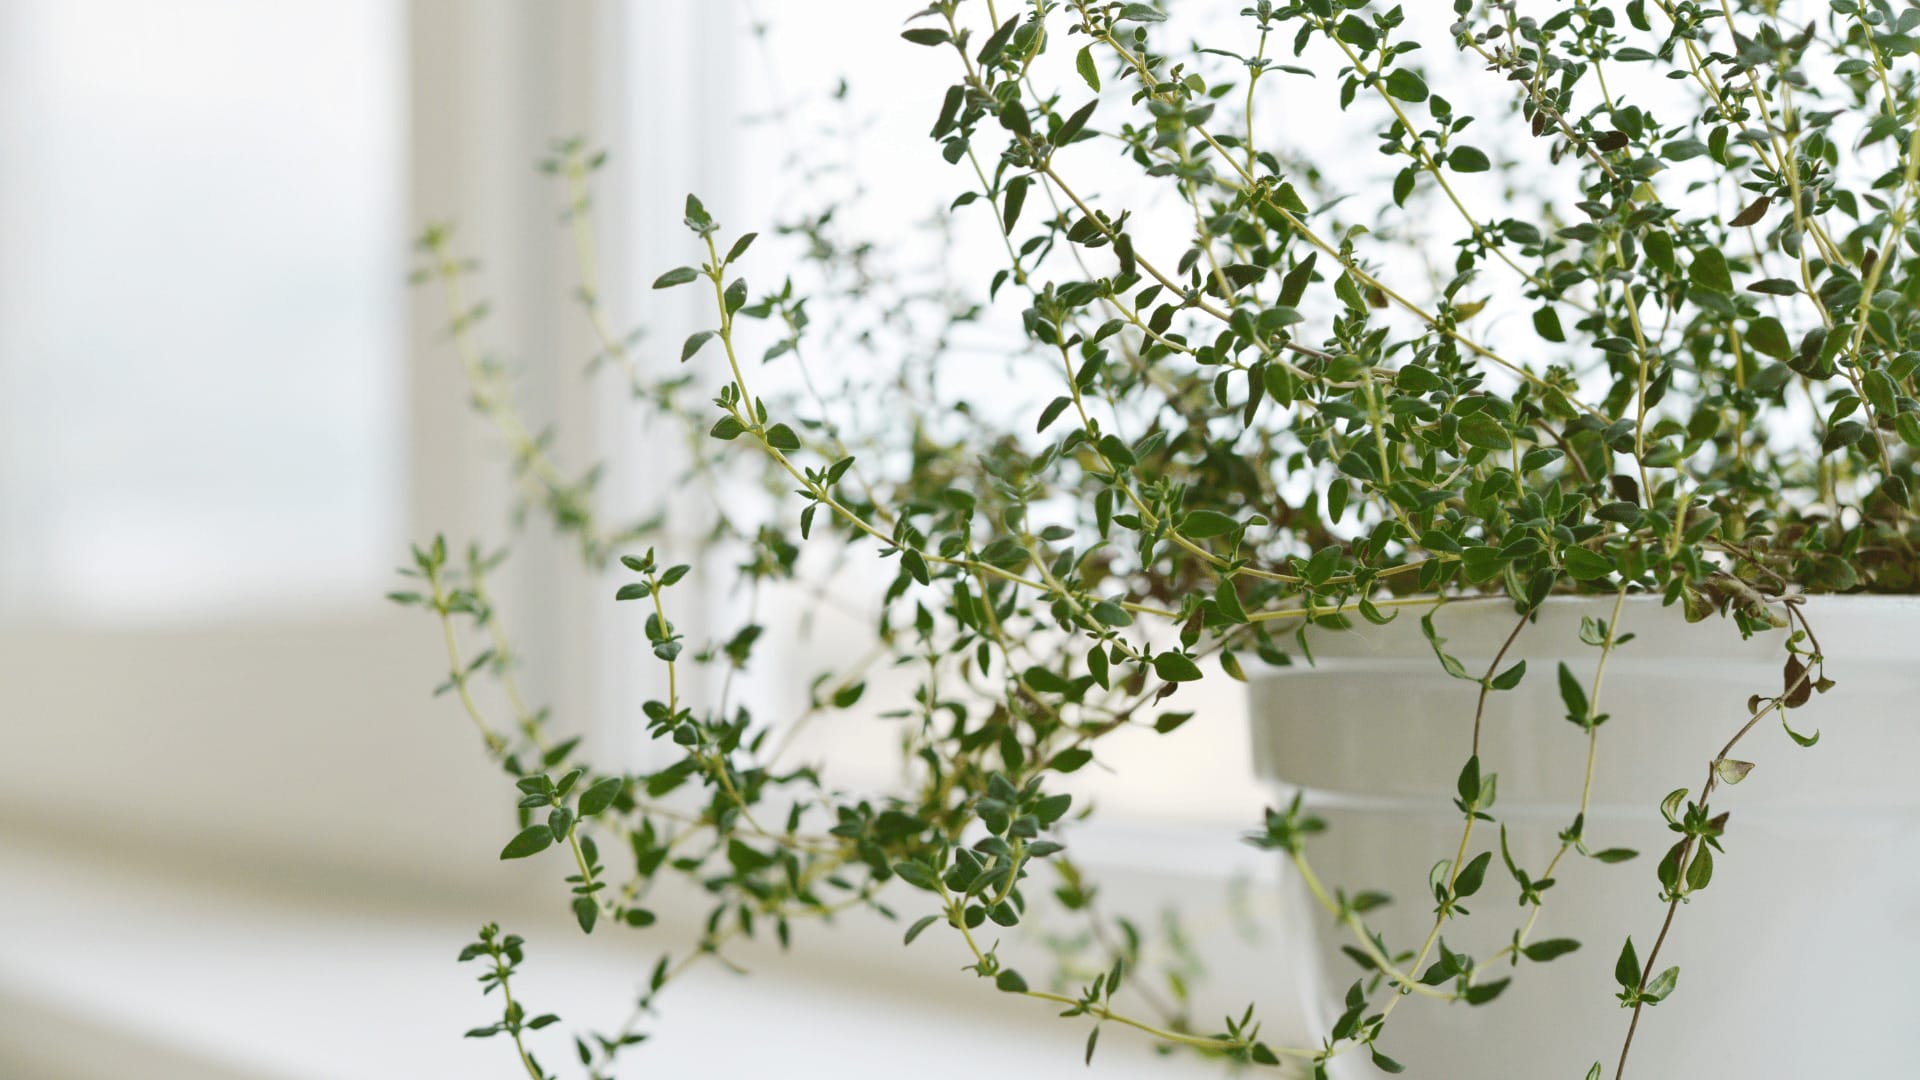
Are you looking for an easy and cost-effective way to grow thyme plants? If so, then today is your day! Growing thyme from cuttings is a simple and cost-effective method that can be done with just a few materials.
You will need a healthy thyme plant and sharp pruning shears. There are two options for rooting. Option 1 is using water; Option 2 requires a rooting hormone. After a few days to a few weeks, the stem should start to develop roots. Afterward, you can proceed to potting.
In this blog post, we'll show you how to grow thyme from cuttings step-by-step.
Table of Contents
How to Grow Thyme From Cuttings — Step-by-Step
Thyme is a versatile herb that can be used for cooking, medicinal purposes, and even as an insect repellent. Among the many ways to grow herbs, planting cuttings is something beginners are fond of. It is reasonably straightforward and mighty effective with a minimal margin of error. We’ve prepared an all-inclusive list of steps you must follow.
Growing herbs at home is not just a fun hobby, but it’s also incredibly useful! In fact, data suggests that more than 33 percent of all Americans are growing some herb at home! So, now’s your time to hop onto the gardening bandwagon. In that regard, thyme is perhaps the best option to start.
So, follow these ten steps and growing thyme from cuttings will be cake!
1. Spend Time Choosing the Right Plant
The first step to successfully growing thyme from cuttings is to choose the right parent plant. Thyme (Thymus vulgaris) is the most common variety of thyme used in cooking and herb gardens. Choose a healthy, mature thyme plant with vibrant green leaves and no signs of pests or disease. The best time to take cuttings is in late spring or early summer when the plant is in its growing season.
Varieties of Thyme
| Thyme Variety | Scientific Name | Description | Flavor Profile | Culinary Uses | Best Planting Conditions | Planting Zones |
|---|---|---|---|---|---|---|
| Common Thyme | Thymus vulgaris | – Small, gray-green leaves. | Earthy, savory, slightly minty | Versatile, used in a wide range of dishes. | Well-draining soil, full sun. | Zones 4-9 |
| Lemon Thyme | Thymus x citriodorus | – Green leaves with a lemony fragrance. | Citrusy, with a hint of thyme | Ideal for seafood, poultry, marinades, and dressings. | Well-draining soil, full sun to part shade. | Zones 5-9 |
| French Thyme | Thymus vulgaris ‘French' | – Compact growth habit, small gray-green leaves. | Classic thyme flavor | Common in French cuisine, sauces, and stews. | Well-draining soil, full sun. | Zones 4-9 |
| English Thyme | Thymus vulgaris ‘English' | – Small, narrow leaves and a low-growing habit. | Robust, earthy, savory | Essential in traditional English roasts and stuffing. | Well-draining soil, full sun. | Zones 4-9 |
| Creeping Thyme | Thymus serpyllum | – Low, spreading growth with tiny leaves and pink to purple flowers. | Subtle, earthy, floral | Ground cover, garnish, and in Mediterranean cuisine. | Well-draining soil, full sun. | Zones 4-9 |
| Silver Thyme | Thymus vulgaris ‘Silver' | – Silvery-gray leaves that add an ornamental touch to dishes. | Mild, earthy, slightly minty | Garnish, salads, and decorative use in cooking. | Well-draining soil, full sun. | Zones 4-9 |
| Caraway Thyme | Thymus herba-barona | – Low, creeping habit with small leaves and a caraway-like aroma. | Earthy, with a hint of caraway | Seasoning for meats, bread, and salads. | Well-draining soil, full sun. | Zones 5-9 |
| Orange Balsam Thyme | Thymus vulgaris ‘Orange' | – Green leaves with a strong orange scent and flavor. | Citrusy and aromatic | Unique in desserts, teas, and fruity dishes. | Well-draining soil, full sun to part shade. | Zones 5-9 |
| Woolly Thyme | Thymus pseudolanuginosus | – Fuzzy, silver-gray leaves, and a compact growth habit. | Mild, woolly aroma | Ground cover, rock gardens, and ornamental uses. | Well-draining soil, full sun. | Zones 5-8 |
2. Pick the Ideal Cutting
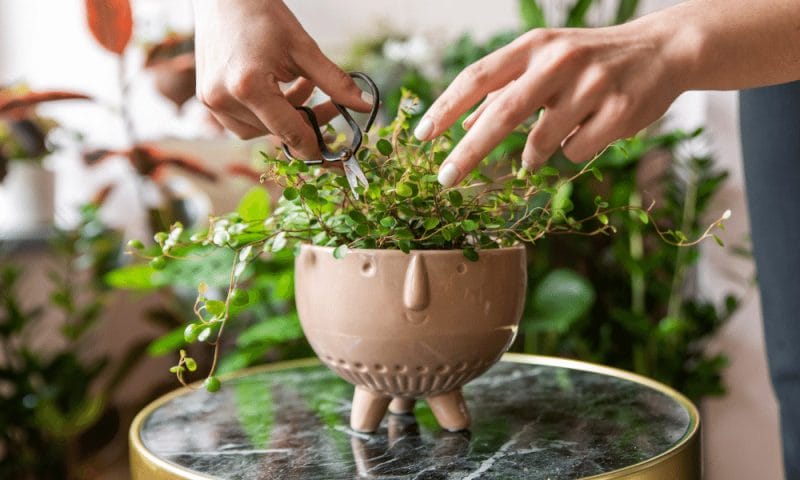
The next step is to select the ideal cutting. I recommend taking cuttings from mature plants. Look for softwood cuttings that are approximately 4-6 inches long and have at least two sets of leaves. Cut just below a leaf node (where the leaves meet the stem) using a clean, sharp pair of scissors, sharp knife or pruning shears. I wrote a blog on Stem Cutting: Propagate Plants Like a Pro. check it out.
3. Properly Prepare the Stem Cuttings
Remove the lower leaves from the cutting, leaving only the top two sets of leaves. This will help the cutting focus its energy on growing new roots rather than supporting excess foliage. If you're taking multiple cuttings, keep them organized and labeled to avoid confusion later.
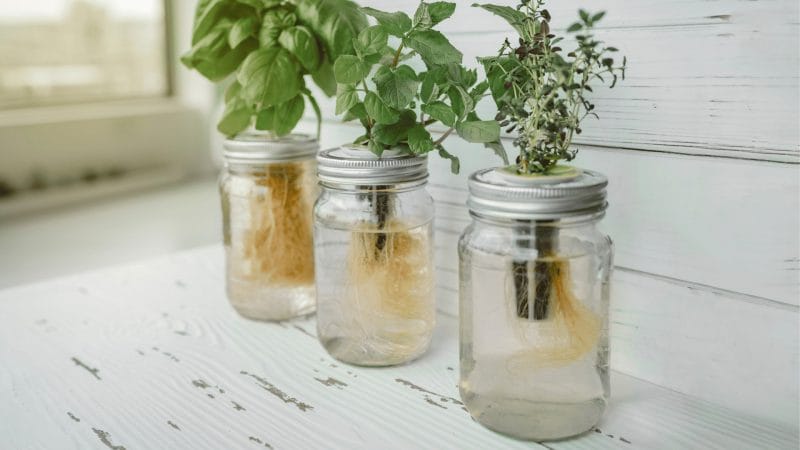
4a. Option 1: Root the Stem Cutting In Water

Take a jar or glass of water, and place the thyme stems in it so that the lower third of the stem is submerged in water. Place the jar in a bright warm location. (but not sunlight.) Change the water every 2-3 days to keep it from becoming stagnant. Roots should appear anywhere from a few days to a few weeks. Afterward, you can proceed to step #5 “Plant the Cuttings”.
4b. Option 2: Apply Rooting Hormone to Ensure Seamless Growth
Dip the end of each cutting in the rooting hormone, which will encourage the growth of new roots. Rooting hormones can be purchased at most garden centers or online. Be sure to follow the instructions carefully, as using too much can damage the cutting. Tap off any excess powder before planting.
5. Plant the Cuttings
Thyme cuttings prefer well-drained soil, so be sure to use a potting mix that is formulated for good drainage. Plant the cuttings about an inch deep in the soil, pressing the soil firmly around the base of the cutting to ensure good contact. If planting multiple cuttings in the same container, space them at least two inches apart.
6. Water the Cuttings
Water the cuttings gently, being careful not to dislodge them from the soil. Thyme cuttings prefer to be kept slightly moist but not waterlogged, so be sure not to overwater them. It's best to water them from the bottom by placing the container in a saucer of water for a few minutes, allowing the soil to soak up the water from the bottom up.
7. Create a Humid Environment
Thyme cuttings benefit from a humid environment, which can be created by placing a clear plastic bag over the container. Be sure to prop up the bag with sticks or wire so that it doesn't touch the cuttings, which could cause them to rot. Place the container in a warm, bright spot out of direct sunlight.
8. Mind Your Own Business, Do Not Overcare for the Cuttings
While it's important to keep the soil moist and the air humid, it's equally important not to overcare for the cuttings. Avoid moving or disturbing them unnecessarily, and be sure not to fertilize them until they have developed new growth. The key is to develop a healthy root system, and that's difficult to do if you're disrupting the plant. Too much attention can stress the cuttings and slow down their growth.
9. Transplant the Cuttings With Total Caution
Once the cuttings have developed new roots and at least an inch of new growth, they are ready to be transplanted into larger containers or directly into the garden. Be sure to handle the delicate new plants with care, gently loosening the soil around the roots and avoiding damage to the new growth. Transplant them into well-drained soil in a sunny location, spacing them at least 6-8 inches apart.
10. Enjoying Your Thyme Plants
Once your thyme plants have become established, they require minimal care. Water them regularly, but be sure not to overwater them, as this can lead to root rot. Trim back any dead or yellowing foliage to promote new growth, and harvest the leaves as needed for use in your favorite recipes.
What Requirements Do You Need to Ensure to Grow Thyme at Home?
Like all plants, thyme also has some peculiar needs you need to cater to if you want profound yield. In addition to the four things mentioned below, taking care of the basics is also essential.
Sunlight and Temperature
Thyme plants require full sun for optimal growth, so be sure to choose a sunny location for your herb garden or container. They can tolerate some shade, but too much shade can lead to poor growth and weak stems. Thyme plants prefer warm temperatures between 60-80 degrees Fahrenheit, so be sure to protect them from frost and cold temperatures.
Soil and Drainage
Thyme plants prefer well-drained soil with a pH between 6.0-8.0. They can tolerate slightly acidic or alkaline soil, but avoid excessively acidic or alkaline soil. Be sure to plant your new thyme plant in a location with good drainage, as standing water can lead to root rot and other problems.
Watering and Fertilization

Thyme plants prefer to be kept slightly moist but not waterlogged, so be sure to water them regularly but avoid overwatering them. They do not require frequent fertilization but can benefit from an occasional application of a balanced fertilizer during the growing season.
Pruning and Maintenance

Thyme plants benefit from regular pruning to promote new growth and prevent them from becoming too woody. Trim back any dead or yellowing foliage, and harvest the leaves as needed for use in your favorite recipes. Thyme plants can also be propagated by division, which involves separating the plant into smaller sections and replanting them.
Common Pest and Solutions
Thyme plants can be susceptible to various pests, including spider mites. Spider mites are tiny arachnids that can infest a wide range of plants, including herbs like thyme. Here's some information on dealing with spider mites on thyme:
Identification of Spider Mites:
- Spider mites are very small, typically less than 1/20 inch (1 mm) in size.
- They come in various colors, including red, green, yellow, or brown, depending on the species.
- Spider mites are usually found on the underside of thyme leaves.
- Infested leaves may develop stippling or small yellow dots and may eventually turn brown or dry up.
- Fine webbing may be present on the plant, especially during severe infestations.
Preventing Spider Mite Infestations:
- Maintain Proper Plant Health: Healthy thyme plants are less susceptible to pests. Ensure adequate watering and proper sunlight.
- Prune and Thin: Regularly prune your thyme plants to improve air circulation, as spider mites thrive in dry and crowded conditions.
- Inspect Plants: Regularly check the undersides of leaves for signs of spider mites.
Treating Spider Mite Infestations:
- Isolation: If you discover an infested thyme plant, isolate it from other plants to prevent the mites from spreading.
- Spray with Water: A strong spray of water can dislodge and wash away spider mites. Repeat this regularly.
- Neem Oil: Neem oil is an organic solution that can help control spider mites. Mix neem oil with water and a few drops of dish soap and spray it on the affected plant.
- Insecticidal Soap: Insecticidal soap can be effective in controlling spider mites. Follow the product's instructions for application.
- Predatory Insects: Consider introducing beneficial insects like ladybugs or predatory mites, which can feed on spider mites.
Frequently Asked Questions
How Long Does Thyme Take to Grow From Cuttings?
Thyme cuttings typically take 2-4 weeks to develop new roots and 4-6 weeks to produce new growth. Once the new growth has reached at least an inch, the cuttings are ready to be transplanted.
Is Thyme Easy to Grow?
Common Thyme is generally considered an easy herb to grow, as it is a hardy perennial plant that can thrive in various growing conditions. It can be grown in the ground or in pots and requires minimal maintenance. However, it is important to ensure that the plant is grown in well-draining soil and receives sufficient sunlight to grow and flourish.
Does Thyme Need Full Sun or Shade?
Thyme prefers full sun, meaning it requires at least six hours of direct sunlight daily to thrive. However, it can also tolerate some shade, especially in hot climates. If grown in partial shade, the plant may not produce as much aromatic oil and may not be as flavorful.
Does Thyme Need a Lot of Water?
Thyme is a drought-tolerant plant that does not require a lot of water. In fact, over-watering can lead to root rot and other issues. Thyme should be watered deeply but infrequently, allowing the soil to dry out between waterings. In general, it is better to underwater than overwater thyme plants.
Conclusion: Growing Thyme From Cuttings
Growing your very own fresh herbs at home is an amazing hobby to have, and if you master the art, it becomes even more interesting! If you are a first time gardener, taking it step-by-step and learning to grow one type of herb is the perfect way to start.
Thyme might be a little tricky to grow as a beginner, but once you know how to grow thyme from cuttings, the rest becomes much easier. All you need to do is follow the steps we’ve mentioned above and arrange the requirements. Growing thyme from cuttings is not as hard as it looks from the outlook. You need to be persistent and follow the protocol.
So, try it today and enjoy the harvest and, more importantly, the process! Happy planting!


